Simple Flannel Baby Blankets
I made some baby blankets about a year ago for a friend's shower and I debated with myself over what parameters make a good baby blanket. Having no personal experience with this I was somewhat out of luck so I did what I usually do in these situations, I called my Mom. With some basic guidelines I made up this simple blanket approach. These blankets are quick to make and seem to get a lot of use by the recipients. One little girl in particular poses with them in many photos! Her dad suggested that the key characteristic of the blankets is their size and stiffness. I guess there is an important role in baby accessories for structural wrapping items useful for containing limbs. If you have even minimal sewing skills you can tackle this project and wow your expecting friends (or yourself) with handmade gifts.
This is my entry to the June Whiplash "competition" - Introduce Yourself. Its my first post to Whiplash!

This will describe the steps to make one blanket even though two are pictured.
You will need:
One yard each of two flannel fabrics
Fabric cutting devices (scissors, rotary cutter)
ruler
round object like a bowl
sewing machine
thread etc.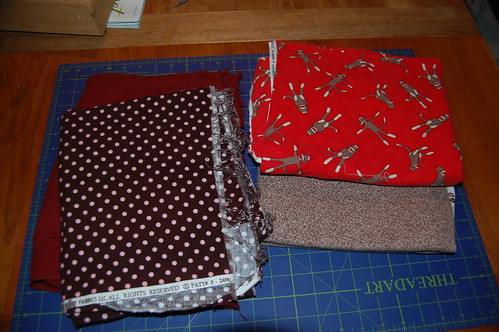
Step 1: Purchase and Wash
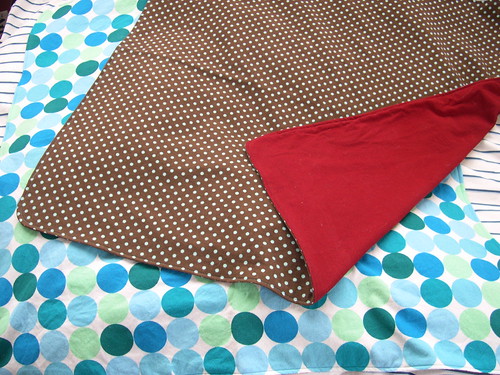
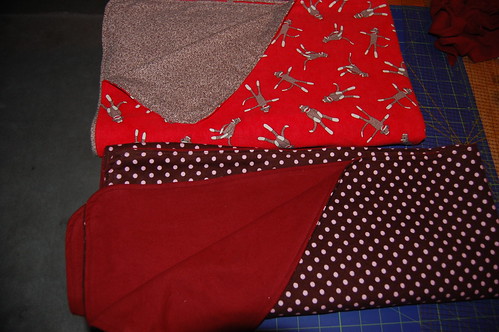
Acquire 2 yards of flannel fabric, one yard in each print. I purchased mine from a fabric store (amazing!). I was particularly enamored with the Sock Monkey print. Im also a fan of non-pastel baby items so I go for dark, rich colors. I usually choose a patterned fabric for one side and a solid for the other. For the Sock Monkeys I chose a matching "Sock" print for the solid. Its all personal preference though! The solid colors are often double sided (i.e. fuzzy on both sides) while the printed flannels are usually single sided. The double sided stuff will make a stiffer and slightly heavier blanket.
Now wash the fabric (just in the washer with your clothes) and iron it flat.
Step 2: Square the Edges
You need to make your fabric into matching sized rectangles. Inevitably the edges will be un-square when they cut the fabric at the store so you will have to fix it. I use my gridded ruler and rotary cutter but you can do it with scissors too. I square one of the pieces first and then with *right sides together* I make the second piece match the first. I use scissors for trimming the second piece.
Step 3: Round the Edges
One of my favorite touches on this blanket is the rounded corners. I did this by taking a round object (the pictured bowl) and simply cutting away some fabric in a round shape. I just traced around the bowl, then cut away the excess.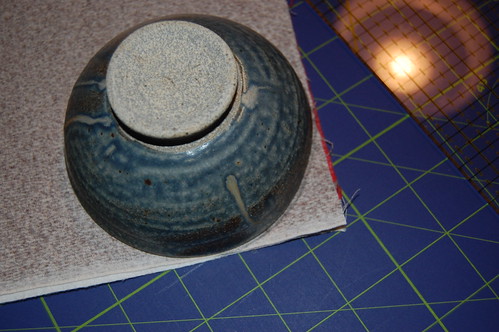
Step 4: Sew, right sides together.
Now, with your rectangles right sides together sew around the perimeter with a 5/8ths inch seam allowance. Stop sewing when you get about 6 inches from where you started, i.e. leave a gap (you can see the gap in the spotted blanket in the background).
Trim the corners like this: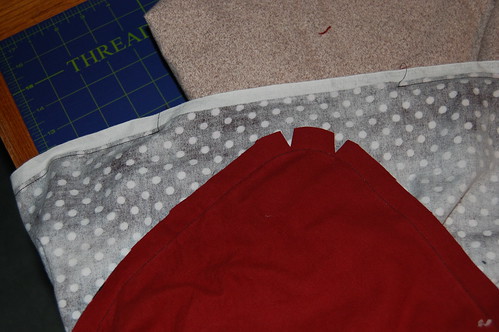
Step 5: Turn right side out and press
This one is fairly self explanatory. Turn the blanket right side out through the gap you left in the stitching. Using an iron on cotton setting press around the edge. Use your fingers to help the fabric expand all the way out. The notches you cut at the corner should help in the curves.
Step 6: Top Stitch
Pick a thread color that goes with each of your fabrics. It can be matching or contrasting, the same on top and bottom or different--you choose. Now using a 1/4th inch seam allowance sew around the entire edge of the blanket. You may wish to pin the section where the gap is but I find I dont need to since the flannel is adheres pretty well to itself.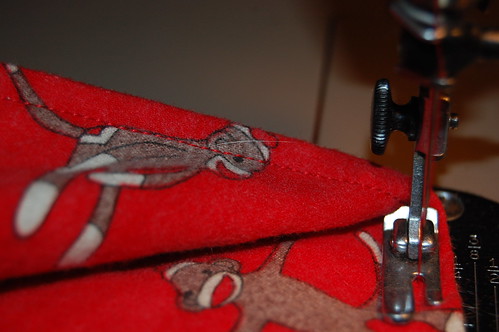
Press the blanket one more time if you like and you are done!
Here they are in the sunlight: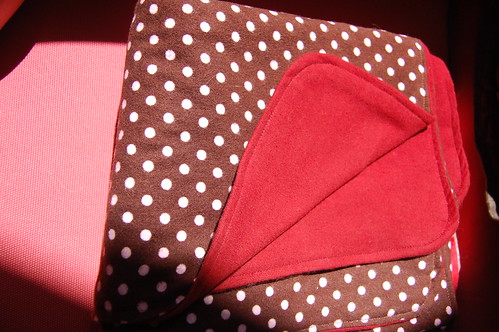
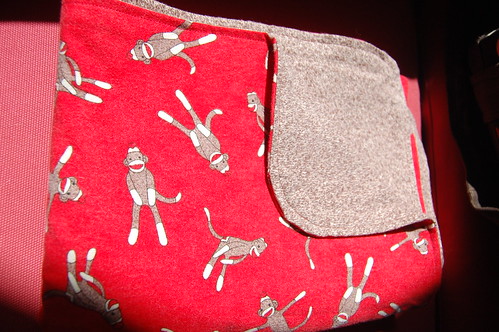
And some I made a year ago: